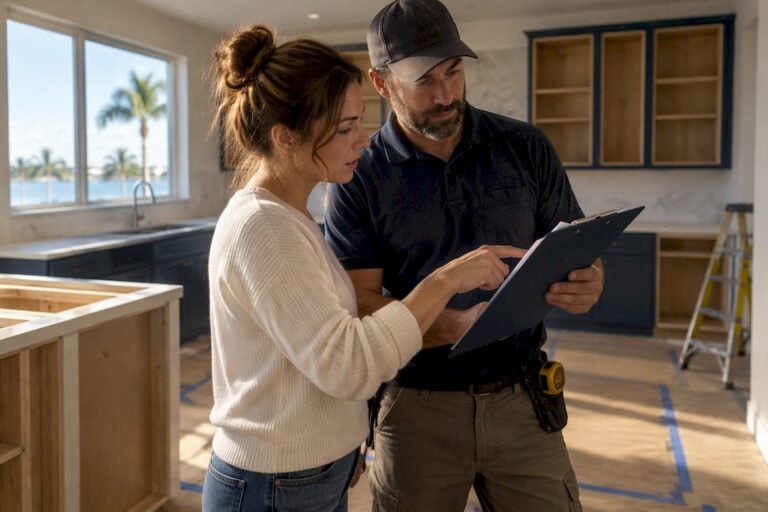

A construction punch list is the written, itemized record of unfinished, defective, or nonconforming work compiled near the end of a project. Its purpose is simple: it documents exactly what must be fixed before the owner grants final acceptance and releases final payment or retainage. Most punch lists get created when a project is near complete, during a dedicated walkthrough that triggers the remediation and final sign-off phase. At Elite Builder Renovation, we treat the punch list stage as the last real checkpoint before a Tampa Bay homeowner or property manager takes possession of finished space, and it is where projects either close cleanly or drag on for weeks.
Key Takeaways
A construction punch list works because it converts vague walkthrough impressions into specific, assigned, dated items tied directly to final payment.
| Point | Details |
|---|---|
| Definition matters | A punch list is the itemized record of incomplete or defective work created near substantial completion. |
| Specificity prevents delays | Vague item descriptions are a leading cause of stalled closeouts, so include location, trade, and photos. |
| Retainage creates leverage | Owners typically hold a portion of the contract value until punch items are verified complete. |
| Rolling lists reduce backlog | Tracking issues throughout the project prevents layering and cuts down the final item count. |
| Software scales with complexity | Platforms like Procore, Buildertrend, and Fieldwire add photo tagging and audit trails for larger jobs. |
Table of Contents
- What Belongs on a Punch List
- Who Prepares the Punch List and Clears Each Item
- Punch List Timing, Retainage, and Final Payment
- Common Punch List Items and What to Test
- Types of Punch Lists and When Each Applies
- How to Run a Punch List Walkthrough That Actually Closes the Job
- Templates and Software for Tracking Punch Lists
- Best Practices That Keep Punch Lists From Dragging On
- How Elite Builder Renovation Handles Punch Lists
- Sources
- FAQ
What Belongs on a Punch List
A punch list entry is only as useful as the detail behind it. Vague notes like “fix bathroom tile” create confusion and delay, so every item needs enough specificity that a subcontractor can act without asking questions.
A solid punch list entry includes:
- Item number for tracking
- Room or area name
- Specific location (elevation, wall, or dimension from a fixed point)
- Clear defect description
- Responsible trade
- Date noted
- Priority level and current status
- Photo reference
Photos matter more than most homeowners expect. A close-up shot paired with a wide context shot removes any ambiguity about which grout line or which outlet cover you mean. Vague item descriptions are one of the leading causes of delayed closeouts, according to SubcontractorHub’s punch list guide. For acceptance criteria, spell out what “done” looks like: “grout line filled flush, no gaps visible from 3 feet” leaves no room for a rushed touch-up to pass as a fix.
Pro Tip: Write item descriptions as if the subcontractor fixing it will never see the room in person. If your words alone can’t guide the repair, add more detail.
Who Prepares the Punch List and Clears Each Item
Punch list responsibility splits across several roles, and confusion about who owns what is a common source of friction at closeout.
- Owner or homeowner: Walks the property, flags anything that looks wrong or unfinished, and signs off on the final list.
- General contractor: Leads the walkthrough, compiles the official list, and assigns items to the correct trades.
- Subcontractors: Receive assigned items, complete the fix, and report back for verification.
- Architect or owner’s representative: On larger commercial jobs, verifies quality against the original plans and specs.
A typical assignment might read: “Item 14, kitchen backsplash, chipped tile at 18 inches from the sink centerline, assigned to tile sub, target date March 20.” That level of specificity lets everyone track resolution instead of relying on memory. For commercial properties or any job where quality is disputed, bringing in an independent inspector or architect adds a layer of objectivity neither the owner nor the contractor can provide alone.
Punch List Timing, Retainage, and Final Payment
The punch list process follows a fairly predictable rhythm on residential and small commercial jobs. The official walkthrough typically happens three to seven days before closing, once the project has reached substantial completion.
- Pre-walkthrough: contractor reviews the space internally before the owner arrives
- Official walkthrough: owner, contractor, and sometimes an architect walk the site together
- Remediation window: commonly 15 to 30 days, though this varies by scope and material lead times
- Final verification: contractor confirms fixes, owner signs off
Retainage, the percentage of the contract value withheld until the work is fully accepted, typically consists of a small to moderate share. Owners hold retainage as leverage specifically because it guarantees punch items get finished rather than forgotten once the crew moves to the next job. A signed, dated punch list at closing converts a casual walkthrough into a contractual lever tied directly to final payment and occupancy. If items remain open past the agreed window, escalation options include withholding a proportional payment amount or, on larger commercial contracts, invoking dispute resolution clauses written into the original agreement.
Common Punch List Items and What to Test
Most punch lists cluster around the same handful of problem areas, whether the project is a kitchen remodel in Clearwater or a full commercial buildout in Tampa. Frequent finish and functional issues include:
- Paint touch-ups, uneven coats, or missed trim
- Doors that stick, don’t latch, or hang unevenly
- Tile or flooring gaps, cracks, or lippage
- Scratched countertops or cracked glass
- Caulking gaps around tubs, sinks, and windows
Cosmetic issues are easy to spot, but functional systems need active testing, not just a visual scan.
- Run every faucet and check for leaks under sinks
- Flush toilets and inspect for slow drains
- Test every switch, outlet, and GFCI
- Run HVAC through a full heating and cooling cycle
- Cycle appliances through a complete wash or bake cycle
- Open and close garage doors and every window
If you’re heading into a walkthrough, our full home renovation checklist and bathroom remodel mistakes to avoid guide both cover finish-quality issues worth flagging before you sign off.
Types of Punch Lists and When Each Applies
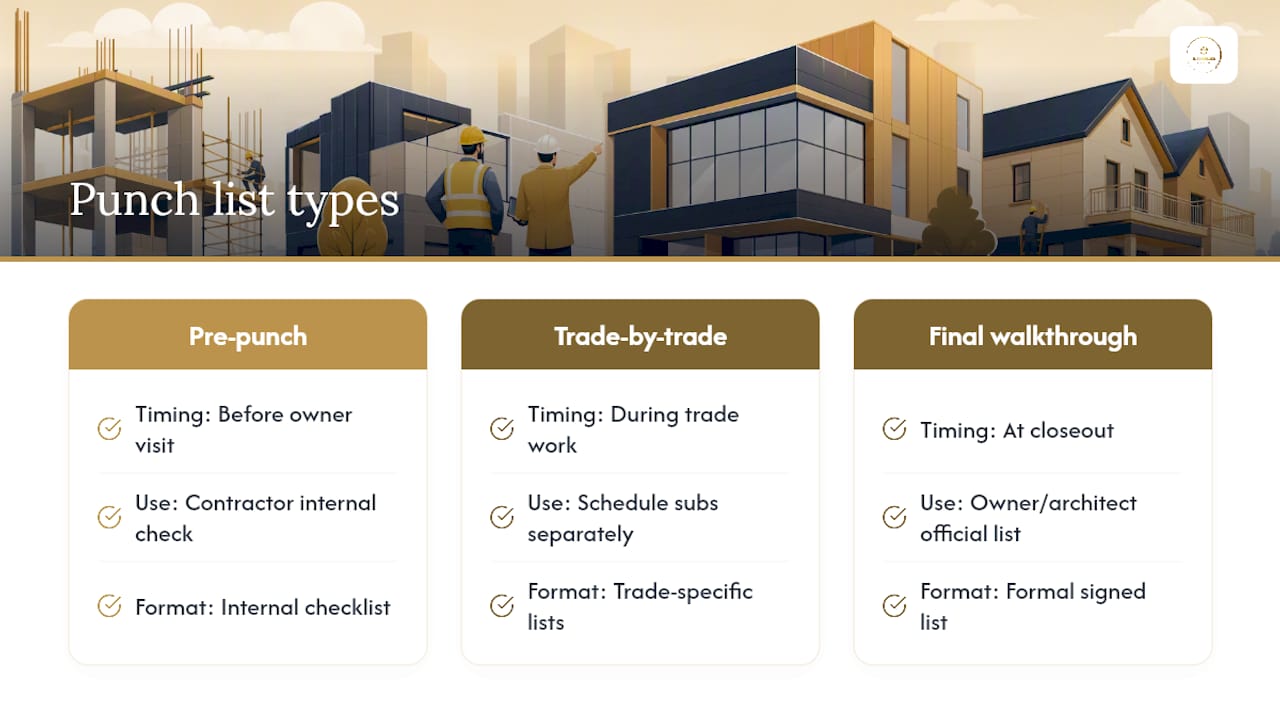
Not every punch list looks the same, and matching the format to the moment saves time. A pre-punch list is the contractor’s internal check, done before the owner ever walks the site. Trade-by-trade lists break items out by specialty, useful when multiple subs need separate scheduling. The final owner or architect walkthrough list is the official document tied to closeout and payment.
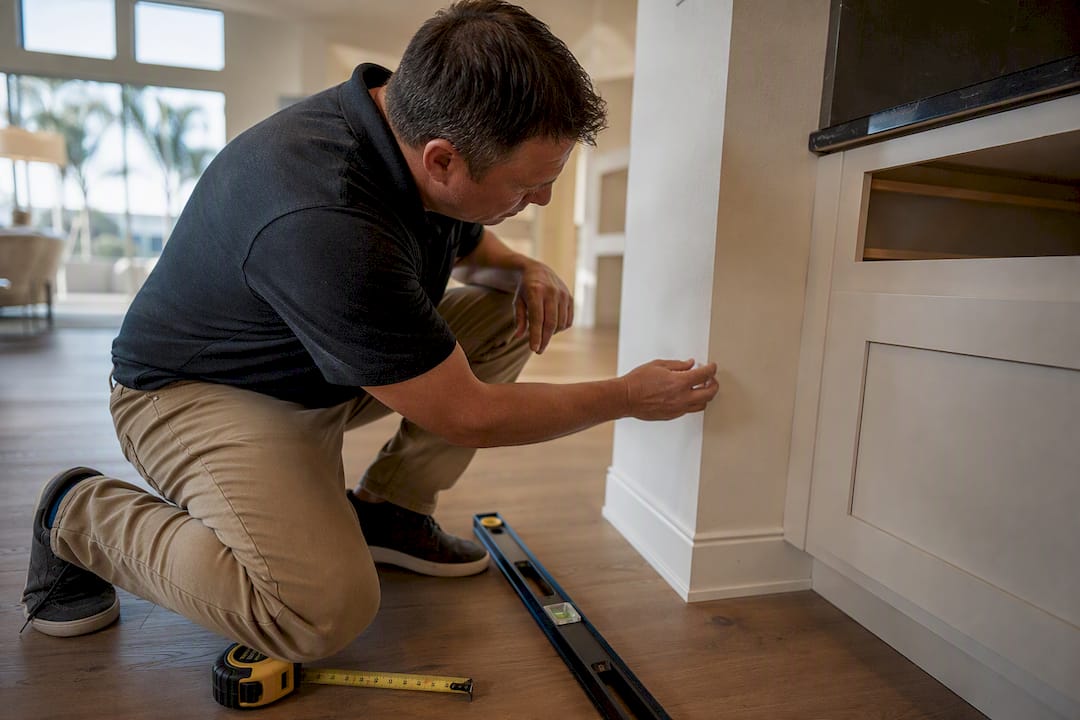
Rolling or progressive punch lists, built throughout construction rather than saved for the end, catch issues before later work buries them, a problem called layering. Room-by-room formats work best for finish walkthroughs; trade-by-trade formats work better on larger jobs with many subcontractors overlapping.
How to Run a Punch List Walkthrough That Actually Closes the Job
A punch list walkthrough works best as a structured process, not a casual stroll through the property.
- Prep beforehand. Bring the contract, floor plans, a tape measure, and a camera or phone. Review any prior notes from earlier inspections.
- Walk room by room. Move in a consistent order, photograph every issue, and number items as you go rather than trying to remember them later.
- Compile the formal list. Convert your notes into a written document with all the required fields: location, description, trade, date, and status.
- Assign trades and dates. Send items to the responsible subcontractor with a specific target completion date, not a vague “soon.”
- Batch trips where possible. Grouping several small fixes into one visit per trade cuts down on wasted trips and keeps remediation costs lower.
- Verify and close. Confirm each fix in person or with before-and-after photos, then formally sign off.
For location references, take one wide shot for context and one close-up for detail, and mark the item’s approximate spot on a floor plan if you have one. Name photo files by item number to keep everything organized. If you’re planning a renovation and want to understand how this fits into the bigger picture, our construction punch list explained process page walks through what to expect from consultation to final walkthrough.
Pro Tip: Schedule your walkthrough for daylight hours. Paint touch-ups, caulking lines, and tile grout look completely different under artificial light versus natural sun.

Templates and Software for Tracking Punch Lists
A basic spreadsheet works fine for smaller residential jobs. At minimum, your template needs columns for item number, room, location, description, trade, date noted, priority, status, and photo link. Copy that structure into Google Sheets or a notes app and you have a workable system for a single-family remodel.
Larger projects with multiple subcontractors usually outgrow spreadsheets fast. Field management platforms like Procore, Buildertrend, and Fieldwire are standard across the industry because they tag photos to specific locations, assign items directly to trades, and keep an audit trail showing exactly when each item was flagged and closed. If you’re hiring a contractor for a larger renovation, it’s worth asking upfront which platform they use for tracking, since that answer tells you a lot about how organized the closeout process will be.
Move from a spreadsheet to dedicated software once you’re managing more than a handful of trades, need photo and location tagging built in, or want a documented history in case a dispute comes up later.
Best Practices That Keep Punch Lists From Dragging On
Do this:
- Pre-punch internally before the owner walkthrough
- Write specific, measurable item descriptions
- Attach photos to every entry
- Batch trade visits to control costs
- Set firm target dates, not open-ended promises
- Verify every fix in person or with before/after photos
Avoid this:
- Letting vague language sit unresolved for weeks
- Accepting a verbal “it’s done” instead of a written, photographed sign-off
- Releasing final payment before verification is complete
Watch for red flags like repeated delays on the same item, a “fixed” item that reopens, or a trade that claims they never received the list. Any of those signal a breakdown in communication that needs addressing before the project closes.
How Elite Builder Renovation Handles Punch Lists
Our process starts with an internal pre-punch review, catching issues before you ever walk the site. From there, we schedule a coordinated owner walkthrough, assign every item to the responsible trade with a target window, and batch visits so your project doesn’t stall waiting on five separate trips.
- Internal pre-punch inspection before the owner walkthrough
- Coordinated walkthrough with clear documentation
- Trade assignment with target completion dates
- Batch scheduling to minimize delays
- Final verification and formal sign-off
With over a decade of experience and more than 375 completed projects across Tampa, St. Petersburg, Clearwater, and Pinellas County, we know that a clean punch list process is what separates a smooth closeout from a frustrating one. You can read more about how past clients experienced our process in our remodeling reviews.
Pro Tip: Ask any contractor how they document and track punch items before you sign a contract. Their answer tells you how the last two weeks of your project will actually go.
If you’re planning a kitchen remodel, bathroom renovation, or full home renovation in the Tampa Bay area, Elite Builder Renovation manages the entire process, including a clear, documented punch list walkthrough at closeout, backed by a 100% satisfaction guarantee and financing options. Homeowners in Brandon can also review our local remodeling services, and St. Petersburg property owners can explore our services here. Schedule a free consultation and see how a well-managed punch list process gets your project to the finish line faster.
Sources
- Punch list — Wikipedia
- Procore
- The Construction Punch List Guide (2026) | SubcontractorHub
- PunchoutPro — Punch list management guide
FAQ
What Should Be Included on a Punch List?
Each item needs a number, room and specific location, a clear defect description, the responsible trade, the date noted, priority status, and a photo reference.
What Are the Different Types of Punch Lists?
The main types are a pre-punch list (contractor’s internal check), trade-by-trade lists broken out by specialty, and the final owner or architect walkthrough list tied to closeout.
Who Prepares the Punch List in Construction?
The general contractor typically compiles the official list during a walkthrough with the owner, then assigns each item to the responsible subcontractor.
What’s the Difference Between a Punch List and a Warranty Claim?
A punch list documents issues identified before final acceptance and is tied to closeout and payment, while warranty claims cover problems that surface after handover.
How Long Does It Take to Clear a Punch List?
Remediation typically takes 15 to 30 days depending on scope and material availability, followed by a final verification walkthrough before payment releases.