


A temporary kitchen during remodel needs four things to function: refrigeration, a heat source, like a microwave or induction hot plate, a solid prep surface, and a clear plan for washing dishes and managing trash. Pick your spot before demo day, secure power to it, arrange a wash station near water access, and seal it off from dust with plastic sheeting or a HEPA filter running nearby.
Here’s your first-hour checklist:
- Choose a location (laundry room, dining room, or garage) with outlets and, ideally, water nearby
- Pack a labeled “daily essentials” box before demo starts
- Confirm power capacity with your contractor to avoid tripped breakers
- Set up dust barriers between the work zone and your temporary kitchen
Should you stay or go? If the remodel is contained to one room, and you can seal off a clean, working kitchen elsewhere in the house, staying usually works. For whole-home renovations or gut jobs running past six weeks, temporary relocation tends to save your sanity and your budget. Either way, keep the 30% rule in mind. It’s a rough guideline for how much of your home’s value to sink into a renovation, and it’s worth remembering before you spend heavily on temporary conveniences too.
Key Takeaways
A functional temporary kitchen during remodel depends on securing power, water access, and dust containment before demolition begins, not after.
| Point | Details |
|---|---|
| Core setup | Refrigeration, a microwave or induction hot plate, a prep surface, and a wash station cover the essentials. |
| Stay-or-relocate decision | Stay for single-room remodels under 8 weeks; consider relocating for whole-home or 10+ week gut projects. |
| Location choice | Laundry rooms and dining rooms balance water access, power, and distance from the construction zone. |
| Power safety | Map circuits, spread high-draw appliances across outlets, and use surge-protected power strips. |
| Contractor coordination | Elite Builder Renovation builds temporary kitchen planning and weekly scheduling into every kitchen remodel project. |
Table of Contents
- Should You Stay Home or Relocate During the Remodel?
- Where Should You Set Up a Temporary Kitchen?
- What Appliances Do You Need for a Temporary Kitchen?
- What Can You Use as a Kitchen Sink During Renovation?
- How Do You Organize Storage in a Temporary Kitchen?
- What Should You Cook When Your Kitchen Is Out of Commission?
- How Do You Control Dust and Protect Your Family’s Health?
- How Do You Manage Power Safely in a Temporary Kitchen?
- What Should You Pack Before Demolition Starts?
- Three Temporary Kitchen Layouts You Can Copy
- What Should You Ask Your Contractor Before Demo Day?
- How Do You Handle Waste During a Kitchen Remodel?
- How Do You Keep a Temporary Kitchen Clean and Sanitary?
- Let Elite Builder Renovation Handle the Logistics
- Sources
- FAQ
Should You Stay Home or Relocate During the Remodel?
The right answer depends on scope, timeline, and how much disruption your household can absorb. Staying saves money and lets you keep an eye on the crew. Relocating removes dust, noise, and the daily hassle of navigating around plastic sheeting, but it adds cost.
Staying home works well when:
- The project is kitchen-only and other rooms stay livable
- You don’t have infants, elderly family members, or health conditions sensitive to dust
- You can work from a quiet room away from the noise
Relocating makes more sense when:
- The remodel touches plumbing, electrical, or structural work across multiple rooms
- The timeline runs past 8 to 10 weeks
- You have pets or kids who need a stable routine
Run through this decision checklist with your contractor before signing off on a start date:
- Confirm project scope: partial remodel or full gut?
- Ask for expected downtime in weeks, not a vague “a couple months”
- Identify which utilities will be shut off and when
- Flag health risks like dust or mold exposure for sensitive family members
- Map how the timeline collides with school, work-from-home, or pet schedules
Pro Tip: Ask your contractor for a weekly access and utility shutdown calendar before demo begins. It often reveals whether staying is realistic long before the sledgehammers come out.
A typical kitchen-only remodel runs several weeks. A whole-home renovation with a kitchen component can stretch past 10 weeks, which changes the calculus on relocating entirely.
Where Should You Set Up a Temporary Kitchen?
Location determines whether your temporary setup feels like a minor inconvenience or a daily headache. The best spots balance water access, electrical capacity, and distance from the construction zone.
- Laundry or utility room: Best option when a sink is already present; doubles as a wash station
- Dining room: Central, comfortable, and close to the rest of the house, but lacks water access
- Garage: Plenty of space and ventilation for appliances that produce smoke or heat
- Basement: Roomy, but watch for humidity affecting stored food and appliances
- Covered patio or outdoor grill area: Great supplement for grilling and slow-cooking during warm Florida months
| Location | Water Access | Ventilation | Best For |
|---|---|---|---|
| Laundry/utility room | Strong | Fair | Full setups with dishwashing |
| Dining room | Weak | Good | Central prep and eating |
| Garage | Weak to moderate | Strong | Smoky appliances, grills |
| Basement | Weak | Poor to fair | Extra storage and overflow fridge |
Before you commit to a spot, check for available outlets, protect flooring with runners or mats, and map a traffic route that keeps kids and pets away from the work zone — for more ideas, see how to refresh your space without the renovation headache. Bob Vila’s guide on setting up a temporary kitchen recommends choosing a location with outlets and a flat prep surface, then sealing it with plastic sheeting during dusty phases.
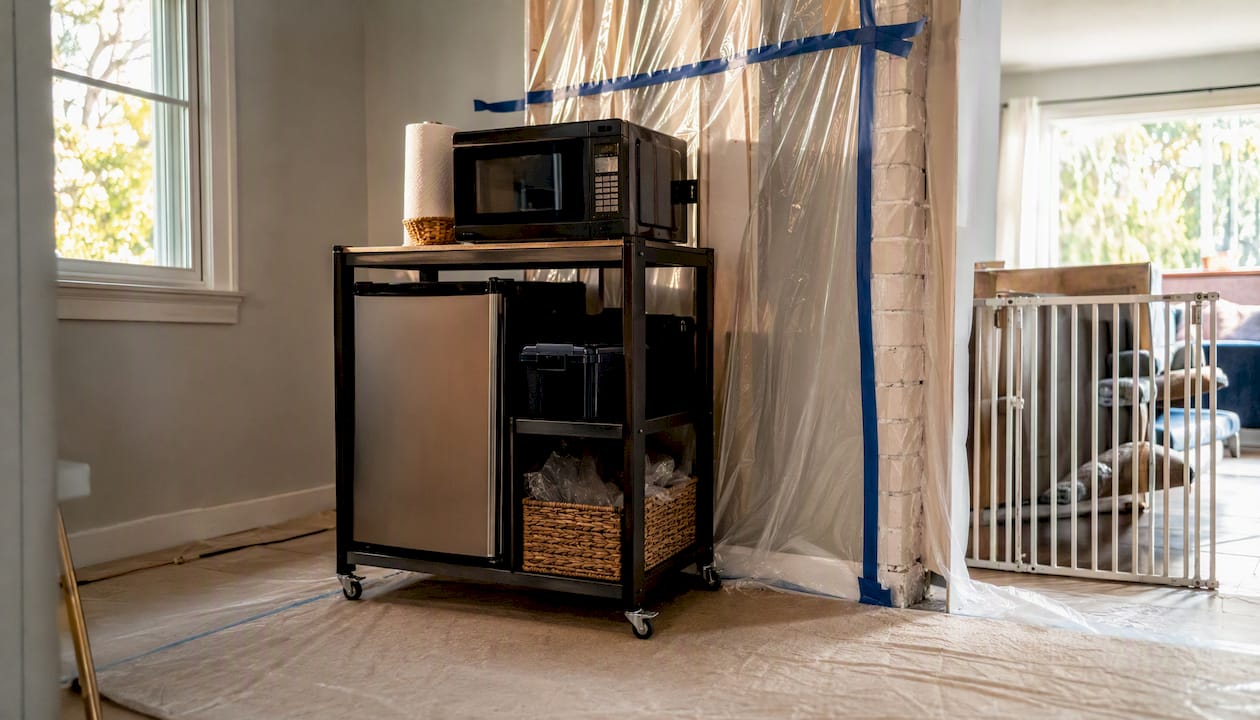
Pro Tip: Take before-and-after photos of your temporary kitchen setup. They help you remember what worked when planning your next remodel, and they make great documentation if something shifts during construction.
What Appliances Do You Need for a Temporary Kitchen?
Your appliance list should follow your cooking habits, not a generic wish list. Bob Vila’s guidance on temporary kitchen setups points to refrigeration, a microwave or induction cooktop, coffee, a basic prep surface, and a cleanup plan as the non-negotiables.
Priority order for constrained budgets:
- Mini-fridge or cooler with ice packs
- Microwave
- Electric kettle and coffee maker
- Toaster oven or air fryer
- Portable induction cooktop or hot plate
- Slow cooker or Instant Pot
- Outdoor grill, if you have patio space
Each option has tradeoffs:
- Microwave: Fast and low power draw, but limited to reheating and simple cooking
- Toaster oven/air fryer: Versatile for roasting and crisping, but produces heat and some smoke
- Induction hot plate: Heats quickly and safely without an open flame, though it needs induction-compatible cookware
- Slow cooker/Instant Pot: Set it and forget it, ideal for one-pot dinners, but slow for same-day meals
- Mini-fridge: Keeps essentials cold without straining a single outlet, though space is limited
- Grill: Solves the smoke and ventilation problem for meat and vegetables, weather permitting
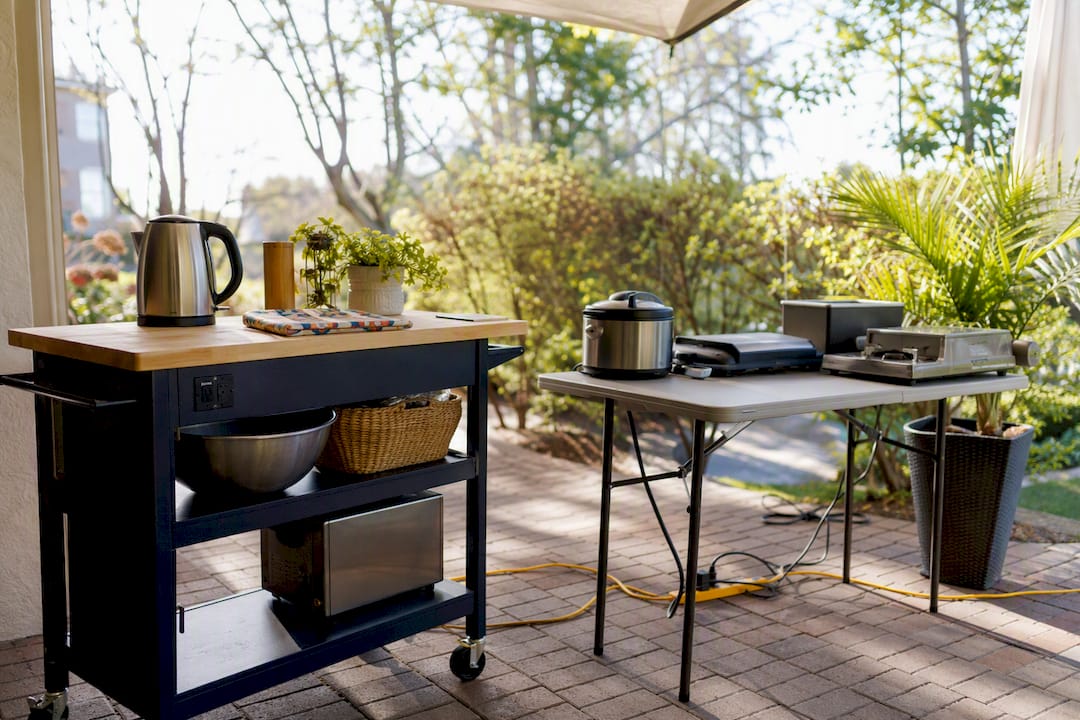
Running a microwave, toaster oven, and mini-fridge off the same outlet is a common way to trip a breaker. Map which circuits serve your temporary kitchen space and spread high-draw appliances across at least two circuits. A UL-listed surge protector is worth the small cost, and if your temporary setup will run for more than a few weeks, ask your contractor or an electrician about adding a dedicated circuit.
A folding table works as a counter in a pinch, but a rolling cart gives you flexible storage that moves with the workflow. Use protected power strips rather than daisy-chained extension cords wherever possible.
What Can You Use as a Kitchen Sink During Renovation?
Losing your sink is often the biggest daily frustration of a remodel, but a few setups solve it without much investment.
- Use an existing laundry or bathroom sink as your primary wash station, if it’s close to your temporary kitchen
- Set up collapsible tubs in a two-basin system, one for washing and one for rinsing
- Rent or borrow a portable dishwasher that connects to any standard faucet, if you have counter space near a sink
Clog prevention matters more in a temporary setup than people expect, since laundry and bathroom drains aren’t built for food waste. Scrape plates into the trash or a compost bin before washing, use a sink strainer to catch stray particles, and never pour grease down a non-kitchen drain.
A few setup details make daily use easier:
- Place a drying rack directly next to your wash station to cut down on extra steps
- Keep a stack of clean towels within reach for hand-drying
- Designate a “dirty dishes” bin so cookware doesn’t pile up on your prep surface
Pro Tip: Never redirect wash water into the yard or landscaping to “make do.” Keep all washing contained to an actual plumbing fixture, even an inconvenient one, to avoid drainage and code issues.
How Do You Organize Storage in a Temporary Kitchen?
Efficient storage saves you from digging through boxes every time you need a spatula. Start with a packing checklist before demo:
- Daily essentials box: coffee, a good knife, a cutting board, measuring cups, and basic spices
- Labeled boxes by category, not just “kitchen stuff”
- Season-specific items packed separately and stored out of the way
Storage solutions that actually hold up during a multi-week remodel:
- Temporary wire shelving for canned goods and dry items
- A rolling utility cart for spices, utensils, and small tools
- Stackable plastic bins for anything you won’t need daily
- A makeshift pantry shelf near your mini-fridge
Arrange your prep surface, cooking appliance, and refrigeration in a small work triangle, the same logic that governs a real kitchen layout. Keep cleaning supplies within arm’s reach of your wash station so spills get handled immediately. Sketch the layout on paper first. It takes five minutes and saves you from rearranging heavy items twice.
Pro Tip: If your contractor is pulling cabinets during demo, ask if you can keep one topped with plywood as a counter. Repurposed demo cabinets make a sturdier, more comfortable prep surface than a folding table, and it costs next to nothing.
What Should You Cook When Your Kitchen Is Out of Commission?
Meal planning is where most families either save their sanity or burn through their takeout budget in the first two weeks. Advance meal planning with make-ahead dishes and a simple rotating menu keeps both stress and spending in check.
Strategies that hold up over a multi-week remodel:
- Make-ahead casseroles, soups, and pre-cooked rice you can freeze in portions
- One-pot and slow-cooker meals that need minimal hands-on time
- No-cook options: salads, wraps, charcuterie boards, and rotisserie chicken
Build a simple 7-day rotation:
- Monday: slow-cooker meal
- Tuesday: grill night
- Wednesday: microwave-reheated freezer meal
- Thursday: no-cook salad or wrap night
- Friday: takeout (budgeted, not a fallback)
- Saturday: grill or hot-plate stir-fry
- Sunday: prep session for the week ahead
Use Sunday to portion and label meals for the week. Reheating a labeled container takes thirty seconds; hunting for ingredients in boxes does not.
How Do You Control Dust and Protect Your Family’s Health?
Dust from drywall and demolition travels farther than most homeowners expect, and it settles into fabric, vents, and food prep surfaces fast.
Containment basics:
- Hang zip walls or plastic sheeting between the work zone and living spaces
- Tape seams around doorways and vents
- Close HVAC vents in the construction area to stop dust circulation
- Post simple signage marking no-go zones for kids and pets
Run a HEPA air purifier in both your temporary kitchen and main living space during the dustiest phases, and change filters more often than the manufacturer’s default schedule. Wipe down prep surfaces daily and disinfect high-touch spots like handles and countertops. Keep trash sealed and take it out often. Construction debris plus food waste is an open invitation for pests.
Pro Tip: Keep a small fire extinguisher near your temporary kitchen. Hot appliances, extension cords, and unfamiliar layouts raise the risk of accidents more than people expect.
How Do You Manage Power Safely in a Temporary Kitchen?
Overloaded circuits are one of the most common (and preventable) problems in a temporary kitchen setup. Mapping your circuits before you plug anything in tells you exactly how much load each outlet can handle.
- Spread high-draw appliances like the microwave, toaster oven, and mini-fridge across separate circuits
- Use UL-listed power strips with surge protection instead of basic extension cords
- Never daisy-chain extension cords together
- Call an electrician to add a dedicated circuit if your temporary setup will run for more than a few weeks
Ventilation matters just as much as power. Toaster ovens and air fryers produce smoke, so run them near a window, outdoors, or under temporary venting when possible. Avoid gas-powered appliances in enclosed temporary spaces altogether.
What Should You Pack Before Demolition Starts?
Getting organized before the crew arrives saves you from digging through debris later and speeds up your move back into the finished kitchen.
Pre-demo checklist:
- Pack a daily essentials box you can access without digging through storage
- Label boxes by their “future cabinet zone” rather than generic categories
- Photograph cabinet interiors, plumbing hookups, and the electrical panel
- Confirm appliance measurements and disconnect scheduling with your contractor
- Finalize cabinet and appliance decisions before demo to avoid mid-project delays
A typical kitchen-only remodel runs 4 to 8 weeks, moving through demo, rough-in, inspections, and finish work in roughly that order. Larger projects with structural or layout changes run longer, so ask your contractor for a phase-by-phase breakdown up front.
- Keep hardware and small parts in labeled zip bags taped inside the relevant box
- Photograph appliance model and serial numbers before disconnection
- Store fragile items like dishware separately, cushioned and clearly marked
Three Temporary Kitchen Layouts You Can Copy
Different project sizes call for different setups. Here are three that work in practice.
Scenario A: Small refresh (partial remodel, single working adult or couple)
- Location: adjacent dining room
- Equipment: one prep table, microwave, mini-fridge, electric kettle
- Sink solution: nearby bathroom sink
- Power: single dedicated outlet with surge protector
Scenario B: Full gut renovation
- Location: garage or basement, with the main house sealed off
- Equipment: induction cooktop, toaster oven, slow cooker, outdoor grill, larger fridge
- Sink solution: collapsible tub system or portable dishwasher
- Power: multiple circuits, consider a dedicated line
- Note: temporary relocation is often worth considering here
Scenario C: Family of four
- Location: dining room plus garage overflow
- Equipment: larger prep table, double drying racks, extra mini-fridge or cooler
- Sink solution: laundry room sink with a scheduled dishwashing rotation
- Power: circuits mapped and split across rooms; consider shared meal shifts to reduce peak appliance use
What Should You Ask Your Contractor Before Demo Day?
Clear, consistent communication is what separates a manageable remodel from a stressful one. Contractors emphasize weekly updates as the single biggest factor in reducing surprises during a project.
Ask your contractor to confirm:
- A week-ahead schedule covering demo, rough-ins, inspections, and finish work
- Utility shutoff dates for water, gas, and electricity
- Who’s responsible for dust containment: your crew or the homeowner
- A preserved, construction-free path to your temporary kitchen
Experienced builders stress that a construction-free path to your temporary kitchen matters as much as the appliances themselves. Ignoring household routes like the laundry room or mudroom creates daily friction that homeowners often mistake for a problem with the project itself, when it’s really a planning gap.
Use a simple weekly grid to track scope: list demo, plumbing/electrical rough-in, inspections, and finish carpentry across the top, and check off what’s scheduled each week. Elite Builder Renovation has managed this kind of coordination across more than 375 projects in Tampa Bay, and our teams build a temporary kitchen during remodel plan into every project timeline before demo starts.
Pro Tip: Ask directly: “Who connects and disconnects my temporary appliances, and is that covered in our contract?” Getting this answered up front avoids a mid-project scramble.
How Do You Handle Waste During a Kitchen Remodel?
Construction debris and household trash need separate systems, or your temporary kitchen area turns into a dumping ground within days.
For construction waste, your contractor should provide a dumpster or debris removal schedule as part of the project agreement. Confirm this before demo, and ask where the dumpster will sit relative to your temporary kitchen. A dumpster blocking your only path to the fridge is a common, avoidable frustration.
For household and food trash, set up a dedicated bin inside or right next to your temporary kitchen, separate from any construction debris pile. Use a lidded container to control odors and keep pests away, especially important in Florida’s humidity. Take household trash out more frequently than you would in a normal kitchen. Food scraps sitting near sawdust and drywall debris attract insects fast.
A few practical rules keep things sanitary:
- Never mix food waste with construction debris in the same bin
- Empty kitchen trash daily, not every few days
- Keep a separate recycling bin if your municipality supports curbside pickup during a renovation
- Ask your contractor about their debris pickup frequency, especially for longer projects
If your remodel runs several weeks, request a mid-project dumpster swap or additional pickup. A dumpster that fills up by week three and sits full for another two weeks becomes both an eyesore and a pest magnet. Pinellas County and Hillsborough County both have specific guidelines on construction debris disposal, so confirm your contractor is following local hauling requirements rather than informal arrangements.
How Do You Keep a Temporary Kitchen Clean and Sanitary?
A temporary kitchen accumulates grime faster than a permanent one, mostly because it’s smaller, less equipped, and closer to a dust source. Building a simple daily routine keeps it functional for the full length of your remodel.
Wipe down every surface, the prep table, cart, and appliance exteriors, at the end of each day. Dust settles even behind sealed barriers, and food residue combined with construction dust creates a stickier mess than either alone. A daily wipe-down with a disinfecting spray or wipes prevents that buildup from becoming a scrubbing project.
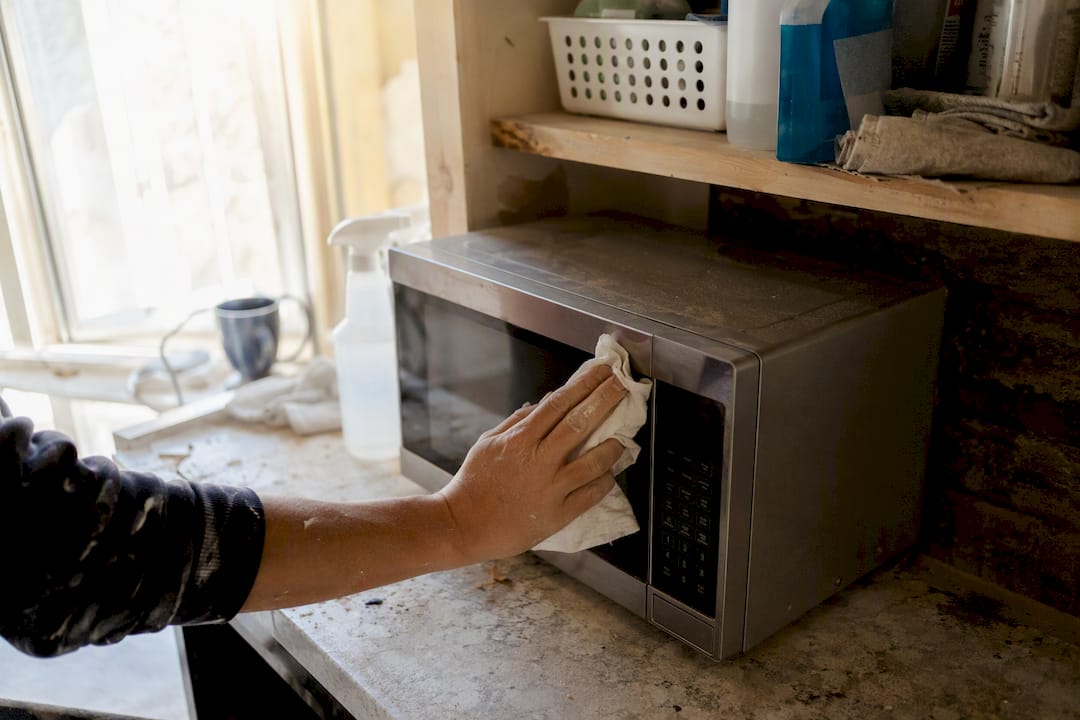
Disinfect high-touch points more often than surfaces you touch less: refrigerator handles, microwave buttons, and faucet handles at your wash station. These spots pick up both cooking residue and whatever dust or debris travels on hands moving between the construction zone and the kitchen area.
Your wash station needs its own maintenance schedule. Empty and rinse collapsible tubs after each use rather than letting dishwater sit overnight. Standing water in a temporary setup breeds odor and bacteria faster than a proper sink, since there’s no garbage disposal or continuous drain to flush debris through.
Weekly tasks worth adding to your routine:
- Deep-clean the mini-fridge interior, including door seals where crumbs collect
- Launder or replace dish towels and cleaning rags
- Check under the prep cart or table for dropped food debris
- Vacuum or sweep the floor beneath appliances, where dust and crumbs both accumulate
Keep cleaning supplies stocked and visible near the wash station so tidying up doesn’t require a special trip. A temporary kitchen that’s easy to clean is one your family will actually use consistently, rather than abandoning for takeout out of frustration.
Let Elite Builder Renovation Handle the Logistics
Planning a temporary kitchen is one piece of a much bigger coordination puzzle, and that puzzle gets easier when your contractor builds it into the project plan from day one. Elite Builder Renovation has guided homeowners across Tampa, St. Petersburg, and Clearwater through more than 375 successful renovations, and every kitchen project includes a discussion of containment, utility scheduling, and realistic timelines before demo ever starts.
Our teams map electrical circuits before installing new appliances, coordinate utility shutoffs so you’re never caught off guard, and provide a clear weekly schedule so your household knows exactly what to expect. You can review real client experiences on our remodeling reviews page before getting started.
If you’re planning a kitchen remodel anywhere in Pinellas County or Hillsborough County, schedule a free consultation through our temporary kitchen during remodel planning process, and we’ll walk you through a realistic timeline before a single cabinet comes down.
Sources
- How to Set Up a Temporary Kitchen When Your Real One Is Under Construction
- 11 Tips for Surviving a Kitchen Remodel | KitchenAid
- Surviving without a kitchen during your remodel
- What is the 30% rule for home renovations?
FAQ
How do you set up a temporary kitchen during a remodel?
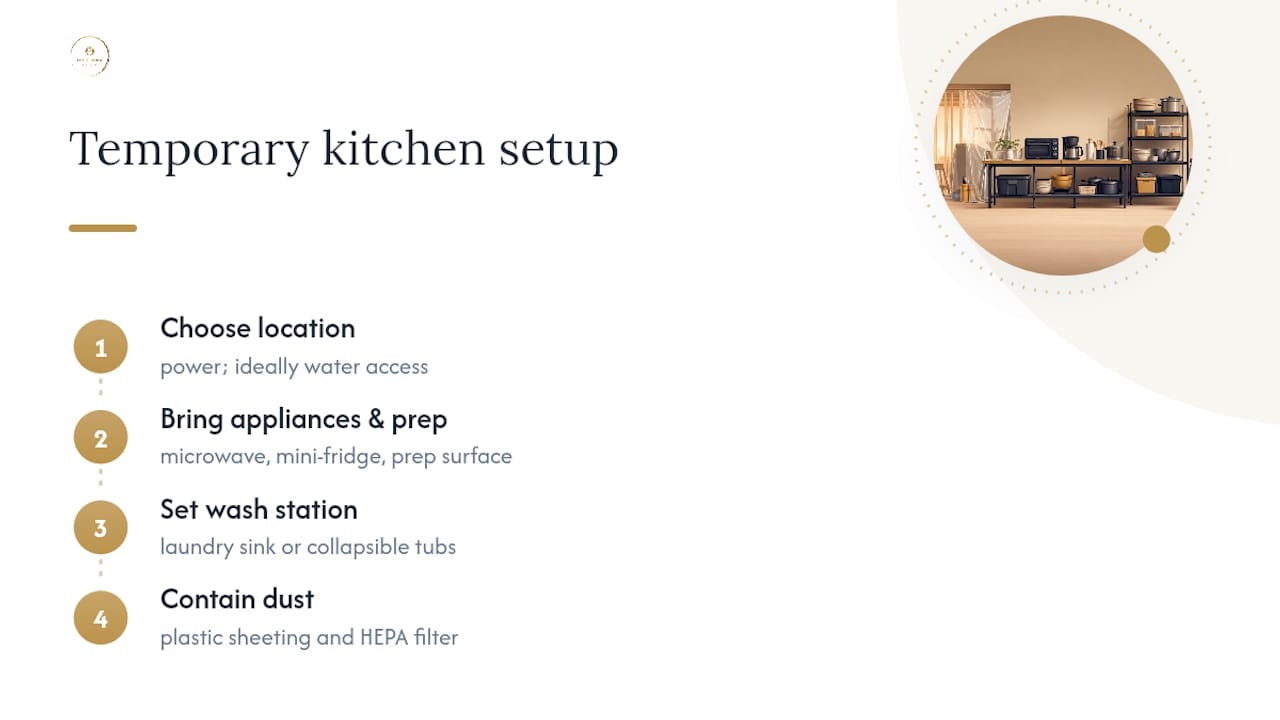
Choose a location with power and, ideally, water access, then bring in a microwave, mini-fridge, prep surface, and a wash station using a laundry sink or collapsible tubs. Seal the area from dust with plastic sheeting and a HEPA filter.
What is the 30% rule in remodeling?
The 30% rule is a budgeting guideline suggesting homeowners avoid putting more than about 30% of their home’s value into a renovation. It’s a reference point, not a strict limit, and design priorities should still come first.
How do you survive without a kitchen during a renovation?
Set up a dedicated temporary kitchen with refrigeration, a heat source, and a wash station, then plan meals around make-ahead dishes, one-pot cooking, and no-cook options like salads and rotisserie chicken. Clear communication with your contractor about utility shutoffs and timelines also reduces day-to-day disruption.
What can you use as a temporary kitchen sink during a renovation?
A laundry or bathroom sink works well if it’s near your temporary kitchen, or you can set up collapsible tubs in a two-basin wash-and-rinse system. Scrape food scraps into the trash before washing to prevent clogs in fixtures not built for kitchen waste.
How long does a temporary kitchen setup usually need to last?
A kitchen-only remodel typically runs 4 to 8 weeks, while larger projects involving structural changes can extend past 10 weeks. Ask your contractor for a phase-by-phase timeline so you know when to expect utility shutoffs and access changes.